Fontes:
How to Enable KVM Kernel Module on Raspberry Pi OS? (linuxhint.com)
How to configure network bridge for KVM virtual machines in Linux (bobcares.com)
The KVM, or Kernel Virtual Machine, is the virtualization solution for Linux. It is a Linux kernel module that allows the Linux kernel to act as a hypervisor program like VMware ESXi or VSphere.
Earlier it was impossible to get KVM running on the Raspberry Pi using the Raspberry Pi OS (also known as Raspbian). This is because KVM only works on a 64-bit operating system. Raspberry Pi OS was a 32-bit operating system. Another reason was that Raspberry Pi 3 and earlier models had only 1 GB of memory, and this is insufficient to run KVM. Docker was a better solution for devices with 1 GB of memory.
At the time of this writing, it is possible to run KVM on the Raspberry Pi using the Raspberry Pi OS. Because Raspberry Pi OS officially ships with a 64-bit kernel, and the Raspberry Pi 4 has an 8 GB model (it has 8 GB of memory). Sadly, the 64-bit Raspberry Pi OS kernel is not enabled by default. You have to enable it manually.
In this article, I am going to show you how to enable the 64-bit Raspberry Pi OS kernel and install KVM on the Raspberry Pi OS.
So, let’s get started!
Things You Will Need:
To follow this article, you will need the following things to set up your Raspberry Pi 4 in headless mode:
- Raspberry Pi 4 (8 GB version recommended, 4 GB version will also work) single-board computer
- USB Type-C power adapter
- 32 GB or higher capacity MicroSD card with Raspberry Pi OS (with the desktop environment) flashed
- Network connectivity on the Raspberry Pi 4
- Laptop or desktop computer for VNC remote desktop access to the Raspberry Pi 4
If you don’t want to set up your Raspberry Pi 4 in headless mode, you will also need:
- Monitor
- HDMI or micro-HDMI cable
- Keyboard
- Mouse
If you need any assistance on flashing the Raspberry Pi OS image on the MicroSD card, check my article How to Install and Use Raspberry Pi Imager.
If you’re a Raspberry Pi beginner and you need any assistance on installing Raspberry Pi OS on your Raspberry Pi 4, check my article How to Install Raspberry Pi OS on Raspberry Pi 4.
Also, if you need any assistance on the headless setup of Raspberry Pi 4, check my article How to Install and Configure Raspberry Pi OS on Raspberry Pi 4 Without External Monitor.
Upgrading Raspberry Pi OS
Before enabling the 64-bit kernel and installing KVM on the Raspberry Pi OS, it’s a good idea to upgrade all the existing packages of your Raspberry Pi OS. This will update the kernel if there is any new version of the kernel available or fix known bugs (if there are any).
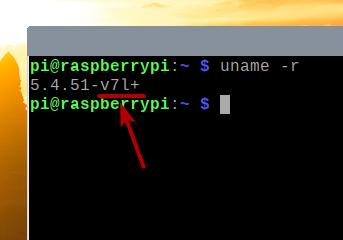
Let’s check the kernel version before upgrading all the existing packages of Raspberry Pi OS.
As you can see, I am running the kernel version 5.4.51 compiled for the ARMv7l architecture.
Now, let’s upgrade all the existing packages of Raspberry Pi OS.
First, update all the APT package repository cache with the following command:

To upgrade all the existing packages (including the kernel), run the following command:

To confirm the installation, press Y and then press <Enter>.
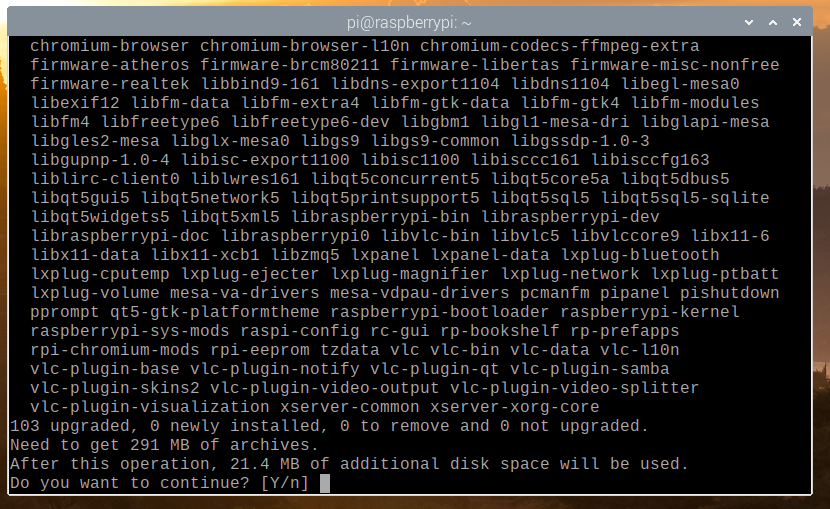
The APT package manager will download all the required packages from the internet but it will take a while to complete.
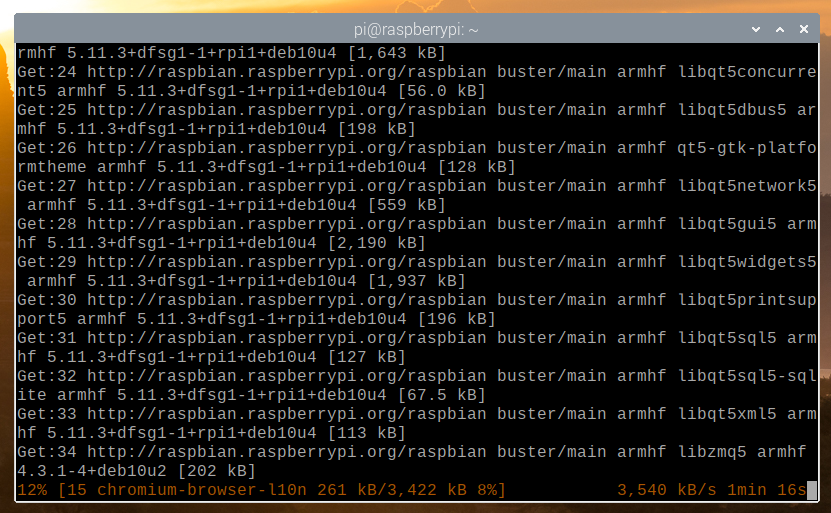
Once the download is complete, it will automatically install them. It will take a while to complete.
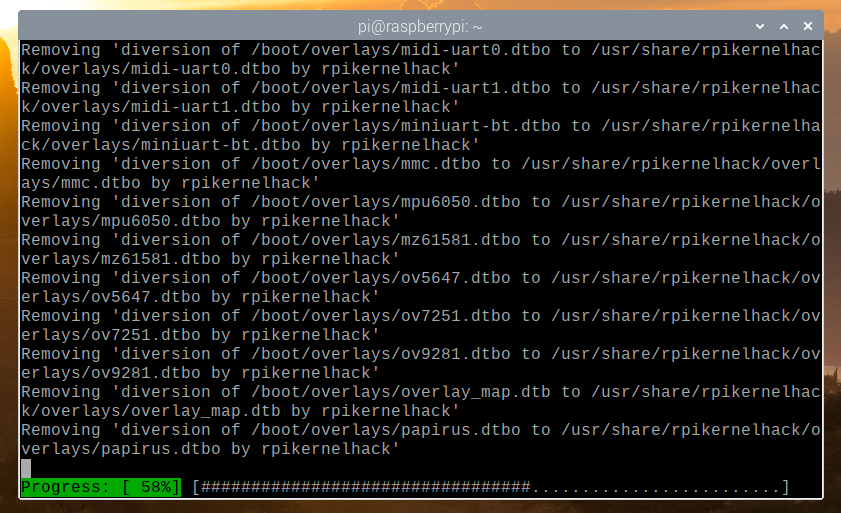
At this point, all the updates should be installed.

For the changes to take effect, reboot your Raspberry Pi 4 with the following command:

Once your Raspberry Pi 4 starts, you may see that the kernel version has been updated.

Enabling 64-bit Kernel on Raspberry Pi OS
On the latest release of Raspberry Pi OS, the 64-bit kernel is distributed along with the 32-bit kernel by default. The 64-bit kernel is still in beta. So, it is not set as the default kernel on the Raspberry Pi OS.
To use the 64-bit kernel on the Raspberry Pi OS, open the /boot/config.txt file with the nano text editor as follows:

Add arm_64bit=1 at the end of the /boot/config.txt file as marked in the screenshot below.
Once you’re done, press <Ctrl> + X followed by Y and <Enter> to save the /boot/config.txt file.

For the changes to take effect, restart your Raspberry Pi 4 with the following command:

Once your Raspberry Pi 4 starts, check the kernel version with the following command:
You should see v8+ at the end of the kernel version, as you can see in the marked section of the screenshot below. It means we are using the 64-bit kernel.

The file /dev/kvm should also be available, as you can see in the screenshot below.

Installing KVM/QEMU:
Once the 64-bit kernel is enabled, you can install KVM, QEMU, and Virtual Machine Manager with the following command:

To confirm the installation, press Y and then press <Enter>.

The APT package manager will download all the required packages from the internet. It may take a while to complete.

Once the packages are downloaded, the APT package manager will install them. It may take a while to complete.

At this point, all the required packages should be installed.

Now, add the pi user to the libvirt-qemu group with the following command:

For the changes to take effect, reboot your Raspberry Pi 4 with the following command:

Once your Raspberry Pi 4 boots, start the default KVM network with the following command:

To make sure that the default KVM network starts automatically on boot, run the following command:

To configure the bridging interface, run the below command.
$ sudo vim /etc/network/interfaces
auto br1
iface br1 inet static
#ip na mesma rede para ser fixo e servir de bridge
address 192.xxx.xx.xx
network 192.xxx.x.x
netmask 255.255.255.0
broadcast 192.xxx.x.xxx
gateway 192.xxx.x.x
dns-nameservers 192.xxx.x.x
bridge_ports eth0
bridge_stp offThen disable all the lines on eth0 interface section so that it looks something like below:
auto eth0
iface eth0 inet manual
Finally, restart the networking service.
$ sudo systemctl restart networking.service
qemu-img resize haos_generic-aarch64-10.3.qcow2.old +20G

